How to Remove Clothing Labels Without Damaging Your Garments
That itchy, irritating clothing label can ruin an otherwise perfect garment. Whether it’s a rough tag scratching your neck or a bulky care label bothering your skin, removing clothing labels safely is a skill every clothing owner should master. According to textile experts, improper label removal damages approximately 15% of garments annually, leading to unraveled seams and ruined clothing.
This comprehensive guide will walk you through professional techniques for safe label removal while preserving your garment’s integrity. Plus, we’ll share insights from our experience as clothing label manufacturers on why some labels are easier to remove than others.
Why Label Removal Can Be Tricky
Understanding Label Construction
Before you start cutting, it helps to know how labels are attached:
- Woven labels are typically sewn with durable polyester thread
- Printed labels may be heat-sealed or sewn onto the garment
- Care labels often use multiple stitching lines for security
- Main brand labels might be integrated into the seam construction
The Manufacturer’s Perspective
As garment tag manufacturers, we design labels with durability in mind. Labels need to withstand washing and wear, which means they’re intentionally secured well. However, the best manufacturers consider eventual removal by using methods that balance security with removability.
Looking for softer alternatives? Our ultra-soft cotton care labels provide comfort without needing removal.

Essential Tools for Safe Label Removal
Recommended Tools
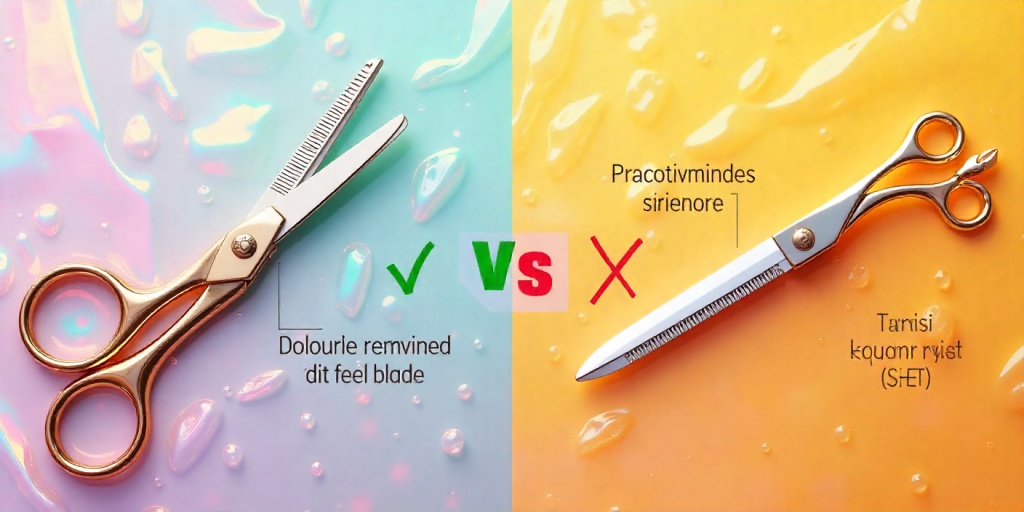
- Seam ripper (the professional’s choice)
- Small, sharp scissors (embroidery scissors work well)
- Tweezers for pulling out tiny thread remnants
- Good lighting to see the stitching clearly
- Magnifying glass if you have vision challenges
Tools to Avoid
- Razor blades (too dangerous, can slice fabric)
- Large kitchen scissors (not precise enough)
- Your teeth (can damage both label and garment)
- Forceful tearing (guaranteed to damage fabric)
Step-by-Step Removal Methods
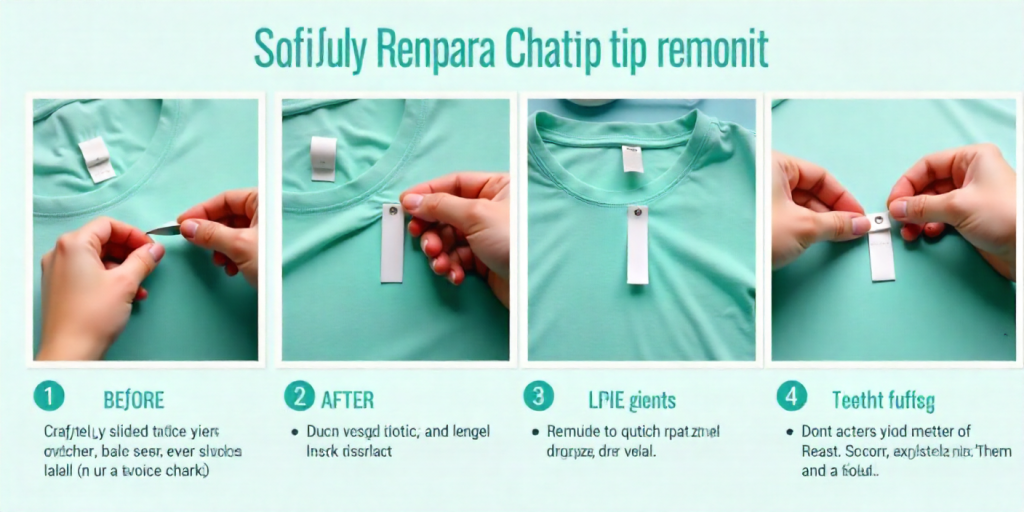
Method 1: The Seam Ripper Technique (Most Recommended)
Step 1: Examine the Stitching
- Identify how the label is attached (single stitch line, double stitch, or integrated into seam)
- Locate the knot or starting point of the stitching
Step 2: Insert the Seam Ripper
- Slide the sharp point under one stitch, away from the garment fabric
- Gently push upward to cut the thread
- Work methodically along the stitching line
Step 3: Remove the Label
- Once all stitches are cut, the label should lift away easily
- Use tweezers to pull any remaining thread ends
Step 4: Clean Up
- Pull any loose thread ends to the inside of the garment
- Avoid cutting the garment’s main seams
Method 2: Scissors Technique (For the Careful Beginner)
Step 1: Lift the Label Edge
- Gently pull the label away from the fabric to create space
- Identify the individual stitches clearly
Step 2: Precision Cutting
- Use the very tips of sharp scissors to cut each stitch individually
- Work slowly and methodically
- Cut only the label-attachment threads, not the garment fabric
Step 3: Final Removal
- Once stitches are cut, remove the label
- Check for any remaining threads
Special Situations and Challenges
Removing Heat-Transfer Labels
These printed labels are fused directly to the fabric using heat and pressure.
Removal Approach:
- Test first: Try gentle peeling at one corner
- Use heat: Sometimes reapplying heat (with an iron) can reactivate the adhesive
- Adhesive remover: Special products exist, but test on hidden area first
For future garments: Specify our sew-in care labels which are easier to remove than heat-transfer labels.
Dealing with Multiple Labels
Many garments have both a main brand label and a separate care label.
Strategy:
- Remove each label separately
- Start with the top label first
- Be extra careful when labels are close together
Labels Integrated into Seams
Some high-quality garments sew labels directly into the main seams.
Professional Approach:
- This is the most difficult removal scenario
- Consider whether removal is worth potentially compromising the seam
- Sometimes it’s better to leave these labels in place
What to Do with the Space After Removal
For Comfort-Conscious Wearers
- Enjoy the newfound comfort!
- No further action needed if the remaining threads don’t irritate
For a Clean Finish
- Use a small amount of fabric glue to secure any loose threads
- Consider adding a soft patch over the area if thread ends are scratchy
When NOT to Remove Labels
Important Exceptions
- Designer/resale items – labels affect value and authenticity
- Garments under warranty – removal may void protection
- Work uniforms – may have identification requirements
- Gifted clothing – keep labels intact for possible returns
Preventing the Problem: A Manufacturer’s Advice
For Clothing Brands
The best solution is to prevent irritation from the start:
Choose Label Placement Carefully
- Side seams are often less irritating than neck labels
- Consider tagless printing for sensitive skin applications
- Use softer materials that don’t require removal
Select Skin-Friendly Materials
- 100% cotton labels are naturally softer
- Satin-finished labels reduce friction
- Thinner labels are less noticeable during wear
Solve the problem at the source: Explore our comfort-focused label options designed to feel good against skin from day one.
Professional Tips and Tricks
From Textile Experts
- Always wash the garment first – sometimes shrinkage makes labels less irritating
- Try wearing the garment once or twice – some labels soften with wear and washing
- Test removal on an old garment first if you’re inexperienced
- Keep the removed label in your clothing records for future reference
Emergency Repair for Mistakes
If you accidentally cut the garment fabric:
- Apply a small amount of fray check to prevent unraveling
- Use an iron-on patch on the inside for reinforcement
- Consider embroidery or decorative patches to cover errors
The Future of Comfortable Labeling
Industry Innovations
- Tagless technology with direct-to-garment printing
- QR code labels that eliminate physical tags entirely
- Biodegradable labels that dissolve after first wash
- Magnetic labels for easy removal and reattachment
Conclusion: Safety First, Comfort Always
Removing clothing labels can significantly improve comfort, but it requires patience and the right technique. The seam ripper method is your safest bet for most sewn-in labels, while careful scissor work can suffice for simpler attachments.
Remember that some labels serve important purposes beyond branding, like care instructions that help maintain your garment’s quality. When possible, the best approach is choosing garments with comfort-designed labels that don’t require removal.
For Clothing Brands:
Tired of customers dealing with irritating labels? We can help!
Contact our team to discuss softer label solutions for your clothing line. Our comfort-focused materials and strategic placements ensure customer satisfaction from the first wear.
Explore our gentle alternatives:
Browse Skin-Friendly Label Options